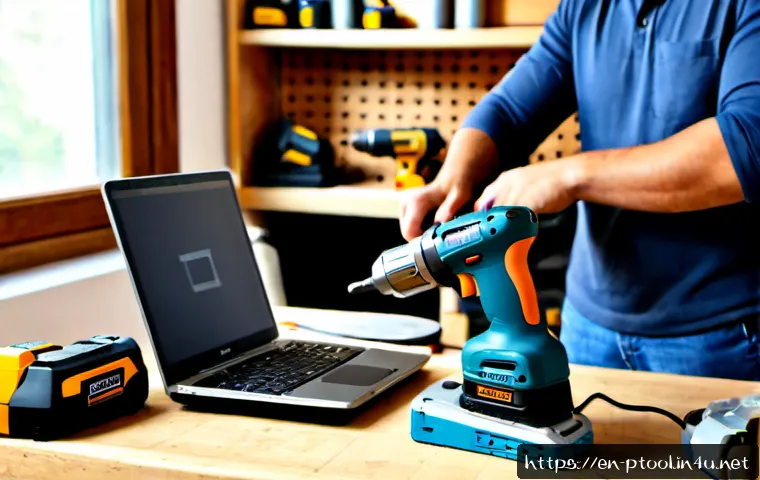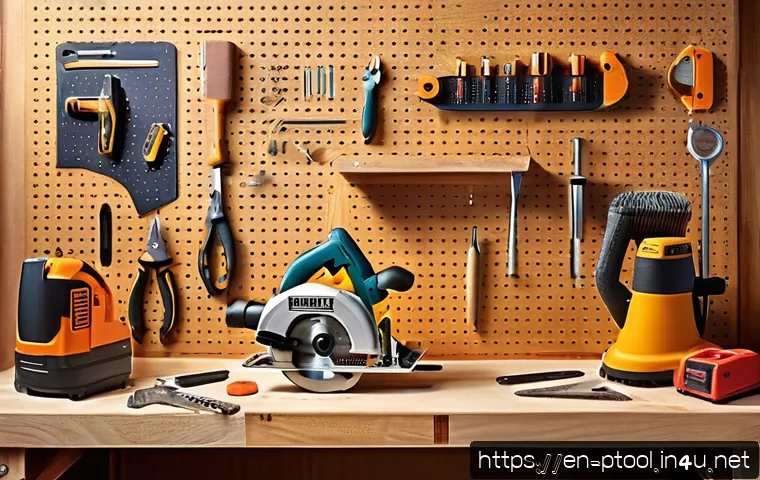
With home improvement projects booming like never before, now is the perfect time to get comfortable with power tools. Whether you’re tackling your first DIY build or just curious about what these handy devices can do, understanding the basics will save you time and frustration.
I’ve been there—starting out with zero experience and a mix of excitement and nerves—but once you master the essentials, you’ll gain the confidence to bring your ideas to life.
Let’s dive into the ultimate beginner’s guide that breaks down everything you need to know to get started safely and effectively. Stick around, because these tips could transform your approach to projects forever.
Choosing the Right Power Tool for Your Project
Understanding Tool Types and Their Uses
When I first started, it was overwhelming to pick the right tool because there are so many options—from drills to saws, sanders, and beyond. Each tool serves a specific purpose, and knowing what you want to achieve helps narrow down your choices.
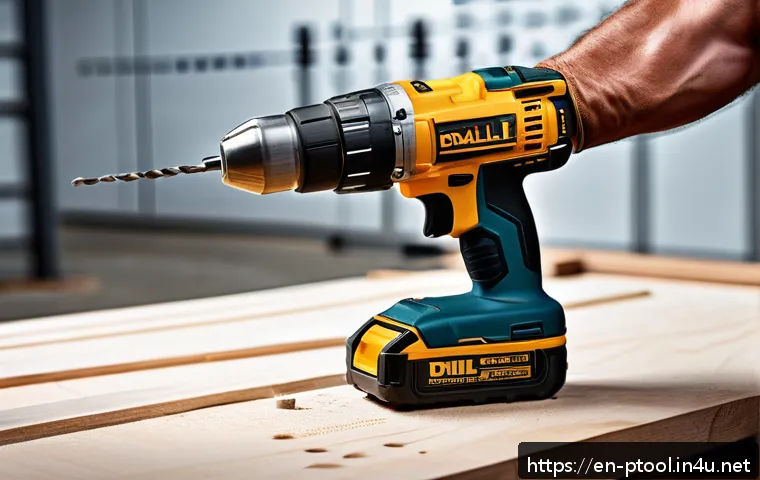
For example, if you’re building a simple shelf, a cordless drill with screwdriver bits might be all you need. But for cutting wood, a jigsaw or circular saw is more appropriate.
I learned early on that trying to use the wrong tool for the job can cause frustration and even accidents.
Evaluating Corded vs. Cordless Tools
One of the biggest decisions when buying power tools is whether to go corded or cordless. Corded tools offer consistent power without worrying about battery life, which is great for long projects.
On the other hand, cordless tools provide mobility and convenience, especially when you’re working in tight or outdoor spaces without easy access to outlets.
I personally prefer cordless for most DIY projects because it lets me move freely around the workspace, but I keep a corded drill handy for heavy-duty tasks that require longer run times.
Budgeting Without Sacrificing Quality
Starting out, I tried to save money by buying the cheapest tools, but that often meant poor performance or tools breaking down quickly. It’s tempting to go for the lowest price tag, but investing a bit more in reputable brands can save you money and headaches in the long run.
Look for tools with good warranties and positive reviews from other DIYers. Remember, a well-made tool not only works better but also keeps you safer during use.
Mastering Basic Safety Practices
Essential Protective Gear You Should Never Skip
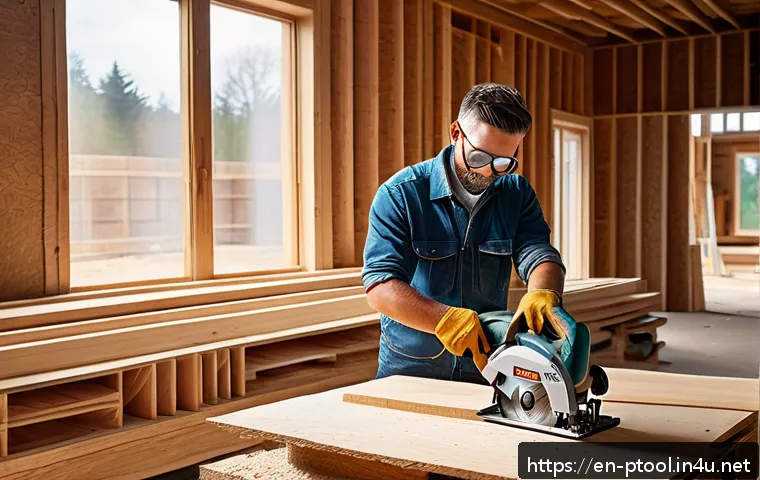
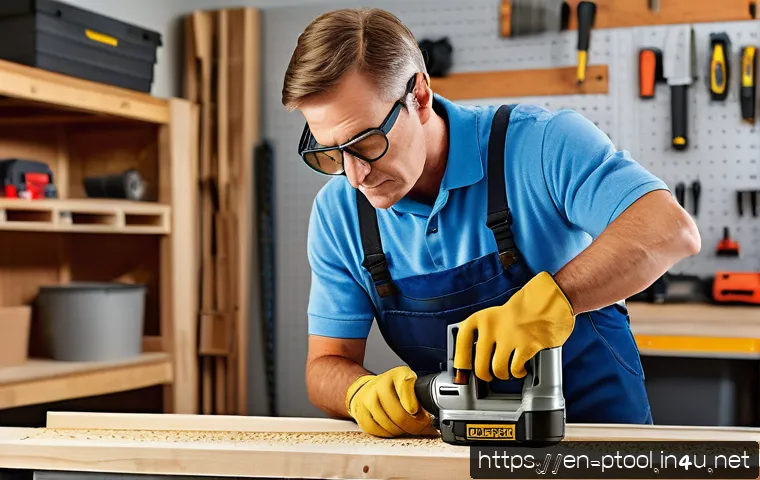
Safety is non-negotiable. From my early days, I realized that gloves, safety glasses, and hearing protection aren’t optional accessories—they’re lifesavers.
Even if the task seems simple, flying debris or loud noise can cause serious injury. I once underestimated the importance of hearing protection during a prolonged drilling session and ended up with a ringing in my ears for hours.
Trust me, investing in quality protective gear is one of the smartest moves you can make.
Setting Up a Safe Workspace
A cluttered or poorly lit workspace increases the chance of accidents. I learned to always clear my area of unnecessary items and ensure good lighting before starting any project.
A stable workbench is another crucial factor. When I started using clamps to secure my workpieces, everything became safer and easier. Also, keep cords organized and out of the way to avoid tripping hazards.
These small adjustments made a huge difference in my comfort and safety.
Understanding Tool-Specific Safety Tips
Different tools come with unique risks. For instance, when using a circular saw, always make sure the blade guard is functioning properly and never force the blade through the material.
With drills, avoid wearing loose clothing or jewelry that can get caught. I found reading the user manual for every new tool I bought invaluable—not just to understand features but to learn manufacturer-recommended safety precautions.
It’s a habit I recommend to every beginner.
Basic Maintenance to Extend Your Tools’ Lifespan
Cleaning and Storing Your Tools Properly
After each use, I make it a point to clean off dust, wood chips, or metal shavings from my tools. Leaving debris on tools can cause premature wear or rust, especially on blades and moving parts.
Wiping tools down with a dry cloth and occasionally applying a light oil to metal parts has helped keep them in good working order. Also, storing tools in a dry, organized toolbox or on a pegboard prevents damage and makes them easier to find.
Battery Care for Cordless Tools
Battery health is crucial if you’re using cordless power tools. I learned that letting batteries fully drain before recharging isn’t ideal for modern lithium-ion batteries.
Instead, charging them when they reach around 20-30% helps extend their overall life. Avoid leaving batteries in the charger constantly, and store them in a cool, dry place.
Taking these small steps ensures your tools are ready to go when you are.
Regular Inspection and Troubleshooting
Every few months, I inspect my tools for signs of wear like frayed cords, dull blades, or loose screws. Catching these issues early prevents accidents and keeps your projects running smoothly.
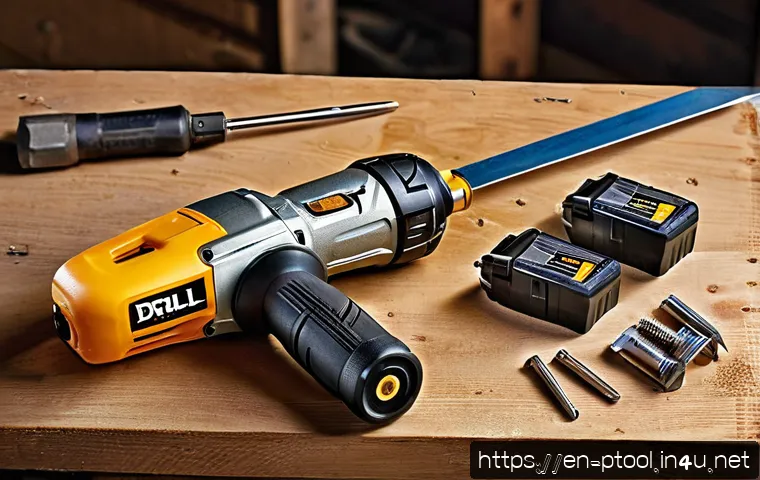
If a tool isn’t performing right, don’t ignore it—troubleshooting or professional repair can save you money compared to replacement. For instance, I once fixed a drill by simply replacing the worn-out chuck, and it worked like new again.
Essential Techniques for Efficient Use
Proper Grip and Posture
You might not think about it, but how you hold and position yourself while using power tools drastically affects both your safety and the quality of your work.
I learned to keep a firm, balanced grip and avoid awkward angles that strain muscles or reduce control. Standing with feet shoulder-width apart and using both hands on tools whenever possible made me feel more stable and reduced fatigue during longer sessions.
Controlling Speed and Pressure
Beginners often make the mistake of pushing tools too hard or using the highest speed settings all the time. I discovered that letting the tool do the work rather than forcing it yields cleaner cuts and longer tool life.
For example, when drilling into hardwood, slowing down and applying steady, moderate pressure helped me avoid burning the wood or breaking drill bits.
Making Test Cuts and Practice Runs
Before jumping into your actual project, practicing on scrap material is a game changer. I used to skip this step and regretted it when cuts didn’t line up or screws stripped.
Test runs help you get a feel for the tool’s behavior and make adjustments before working on your final piece. It’s a simple step that builds confidence and reduces costly mistakes.
Knowing When to Upgrade or Add New Tools
Recognizing Limitations of Your Current Tools
There was a point when my basic drill and handsaw just weren’t cutting it anymore for bigger or more precise jobs. I realized that pushing my tools beyond their limits slowed me down and increased frustration.
Knowing when to upgrade means paying attention to how your tools perform and what your projects demand. If you find yourself improvising or struggling regularly, it’s probably time to invest in something better suited.
Building a Versatile Tool Collection Over Time
Instead of buying everything at once, I recommend slowly building your toolkit based on the projects you tackle. Start with essentials and add specialized tools as needed.
This approach saves money and helps you learn each tool’s function properly. For example, after mastering the drill and circular saw, I added a random orbital sander, which dramatically improved my finishing work.
Considering Multi-Tool Options
Multi-tools that combine several functions in one device are great space-savers and often cost-effective for beginners. I picked up a multi-tool that can sand, cut, and scrape, and it quickly became my go-to for small repairs and detailed work.
While they might not replace specialized tools for heavy-duty jobs, they’re incredibly handy for versatility and convenience.
Comparing Popular Beginner Power Tools
| Tool | Main Uses | Pros | Cons | Recommended For |
|---|---|---|---|---|
| Cordless Drill | Drilling holes, driving screws | Portable, versatile, easy to use | Battery life limits long projects | Almost every beginner project |
| Circular Saw | Cutting wood, plywood, sheet materials | Powerful, fast cuts, portable | Requires skill for straight cuts | Framing, shelving, decking |
| Jigsaw | Curved and intricate cuts | Good for detailed work, lightweight | Slower cuts, less precise for straight lines | Decorative projects, trims |
| Random Orbital Sander | Sanding surfaces smoothly | Easy to control, good finish | Limited to sanding tasks | Furniture refinishing, prep work |
| Multi-Tool | Cutting, scraping, sanding small areas | Very versatile, compact | Not specialized, less powerful | Small repairs, detailed projects |
Wrapping Up
Choosing the right power tools and using them safely makes any project more enjoyable and efficient. From understanding tool types to practicing basic maintenance, every step counts toward successful results. Remember, investing time in learning and caring for your tools pays off in the long run. Stay patient, stay safe, and keep building your skills with each project.
Helpful Tips to Keep in Mind
1. Always match your tool choice to the specific task to avoid frustration and accidents.
2. Consider cordless tools for flexibility but keep corded options for heavy-duty work.
3. Don’t skimp on quality; a reliable tool saves money and hassle over time.
4. Safety gear isn’t optional—protect your eyes, ears, and hands every time you work.
5. Practice on scrap materials before tackling your main project to boost confidence and accuracy.
Key Takeaways
Understanding the purpose and proper use of each power tool is essential for both safety and effectiveness. Regular maintenance and careful handling extend the life of your tools, ensuring they perform well over time. Building your toolkit gradually and recognizing when upgrades are needed will help you take on more challenging projects with confidence. Most importantly, never overlook safety precautions to protect yourself and those around you.
Frequently Asked Questions (FAQ) 📖
Q: What are the essential power tools a beginner should start with?
A: When you’re just starting out, focus on a few versatile tools that cover most basic tasks. A cordless drill is a must-have for drilling holes and driving screws—it’s incredibly handy and easy to use.
Next, consider a circular saw for cutting wood, which is perfect for framing or simple cuts. An orbital sander helps smooth surfaces, making your projects look polished.
Lastly, a multi-tool or jigsaw can tackle more detailed or curved cuts. These tools are a solid foundation without overwhelming you, and as you gain experience, you can expand your collection based on your project needs.
Q: How can I ensure safety while using power tools for the first time?
A: Safety should always be your top priority, especially when you’re new to power tools. Start by reading the user manual for each tool—you’d be surprised how many beginners skip this step.
Always wear protective gear like safety glasses, hearing protection, and gloves. Make sure your workspace is clean and well-lit to avoid accidents. Before plugging in or turning on any tool, double-check that all settings are correct, and keep your hands clear of moving parts.
If possible, practice on scrap material first to get a feel for the tool’s operation. Taking these precautions helped me avoid mishaps and made me feel more confident.
Q: What tips can help me improve my skills quickly with power tools?
A: The fastest way to improve is by diving into small, manageable projects that challenge you just enough without overwhelming you. I found that following detailed tutorials online and watching step-by-step videos made a huge difference—seeing the process visually helped me understand techniques better.
Also, don’t rush; taking your time to measure twice and cut once saves a lot of frustration down the road. Joining local DIY groups or forums can provide helpful feedback and motivation.
Lastly, be patient with yourself—every expert started as a beginner, and consistent practice builds both skill and confidence.